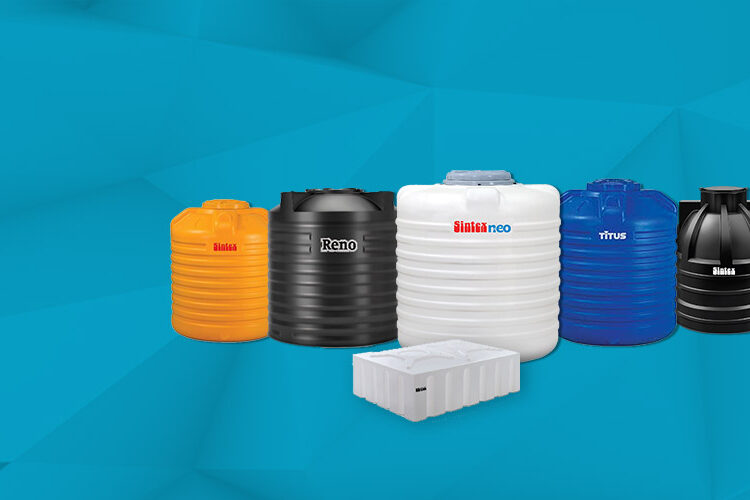
Essjay Enterprises is Kerala’s leading distributor of ISO certified water tanks and water storage solutions. We have supplied water tank solutions for a wide range of potable, residential, commercial and agricultural applications since 2001.
About Our Company
About Our Company
Our Services
We not only distribute water tanks for Government & Private projects but also offer a full range of services such as repair, maintenance and installation. Our services ensure that your water storage solutions meet your needs and perform to the highest standards.
Our Partners
Essjay Enterprises has been an official partner of Sintex Plastics since 2001, and has ensured that customers receive the highest quality water tank and liquid storage solutions. Sintex offers the most diversified manufacturing capabilities in the world when it comes to plastic processing.
Our Services
Water Tank Distribution Services
We maintain a high volume and stock of water tanks for any requirements. Therefore, we are capable of delivering water tanks for tank dealers in bulk orders, and all of them at an affordable price.
Water Tank Service and Maintenance
From water tank cleaning to repair, our highly qualified personnels can restore your tank to full operability. With proper maintenance, we can help extend the service life of your water storage solutions.
Water Tank Delivery and Installation
We deliver water tanks of any shape and size all across Kerala. Our experienced staff will manage every aspect of your water tank installation and setup so that you can rest easy.
Looking to purchase a bulk amount of water tanks at an affordable price?
We undertake SINTEX Water Storage Tank Projects for Corporate CSR projects, Government projects, Large construction projects, and industrial projects


